CALL US (416) 252-4868
Take More Flexible Screenshots with Snipping Tool
2020-12-27
The Snipping tool has been a part of the Windows for long time. Snipping tool can take screenshots of an open window, rectangular area, a free-form area, or the entire screen. You can annotate your snips with different colored pens or a highlighter, save it as an image or MHTML file, or email it to a friend.
Snipping Tool in Windows Vista, 7, and 8 has one limitation: it can’t capture screenshots that involve mouse movements. To capture something that involves mouse movement, like pop-up menus and tooltips, you will have to use the Print Screen method.
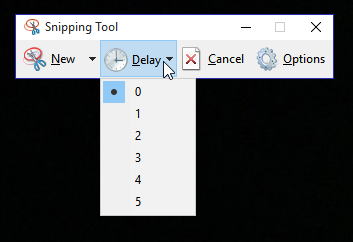
In Windows 10, Snipping Tool has a new “Delay” option, which will allow you to capture screenshots pop-up menus and tooltips. Open the Snipping Tool app and click Delay. From the drop-down list, click on the number of seconds you’d like to wait until your screenshot is taken.
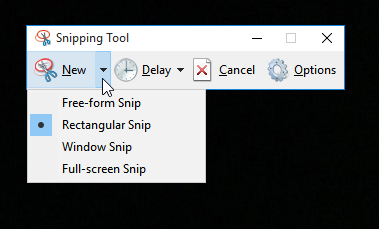
Now choose the type of snip you want to make by clicking the arrow next to “New.” You can choose from one of four types of snip: free-form, rectangular, window, and full-screen.
Unlike a regular snip, the screen will not immediately fade out. Instead, you will have between 1–5 seconds, depending on the delay you chose, to set up your screenshots. You can use this time to open that pop-up menu or tooltip you want to capture. Once your seconds have passed, the screen will freeze and fade out so you can create your snip. If you chose window or full-screen, it will just capture the snip immediately.