CALL US (416) 252-4868
How to Take Screenshot in Windows 10
2020-12-10
A screenshot is an image taken of whatever’s on your screen. Today we’re going to show you how to take a screenshot in Windows 10.
To Save Your Screenshot as a File
Press the “Windows logo key + PrtScn.” If you’re using a tablet, press the “Windows logo button + volume down button.” On some laptops and other devices, you may need to press the “Windows logo key + Ctrl + PrtScn” or “Windows logo key + Fn + PrtScn” keys instead. Check your laptop’s manual for more information.
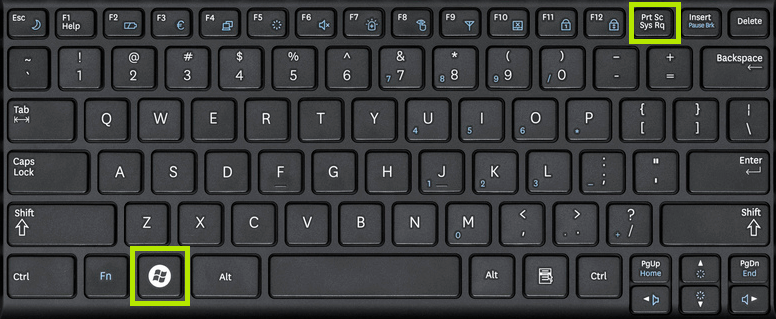
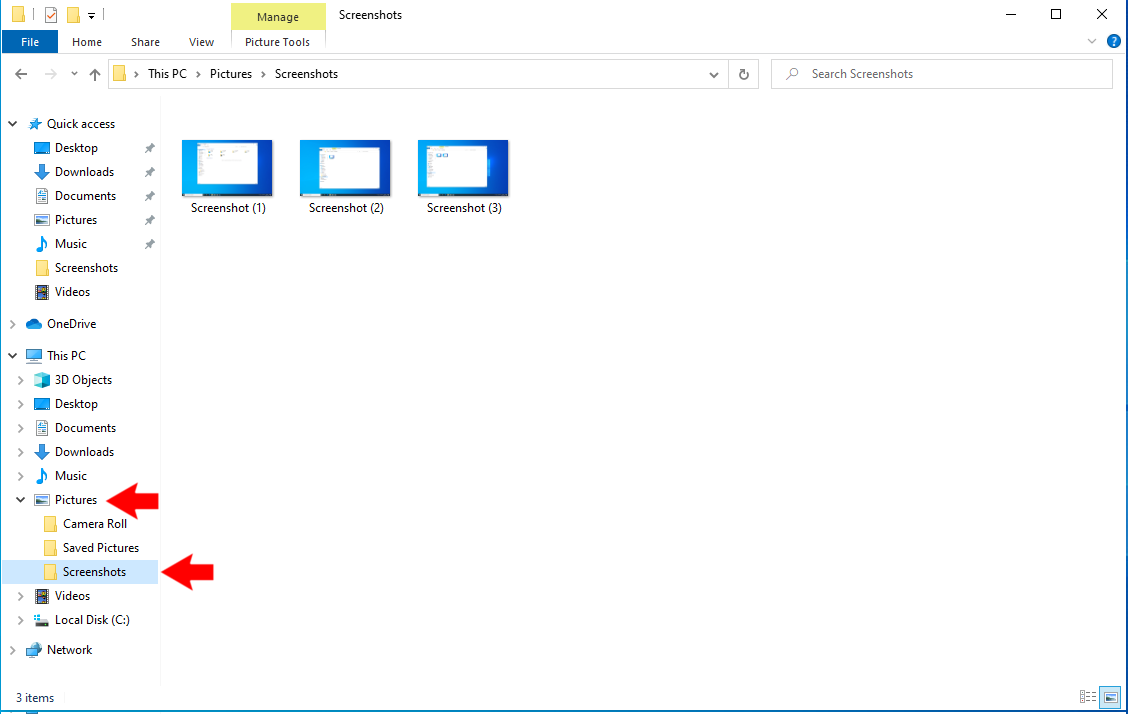
The screen will dim for a moment, and you will see the screenshot appear as a file in a folder titled “Screenshots”, inside your “Pictures” folder. The screenshot is automatically labeled with a incrementing number.
To Take a Screenshot of Only One Window
Click on the title bar of the window that you want to capture. Press “Alt + PrtScn”. A screenshot of your currently active window will be copied to the clipboard, just as in the last section. Paste it into your favorite image editor or document editor and save it to your computer. Note: On some laptops and other devices, you may need to press the “Alt + Fn + PrtScn” keys instead. Check your laptop’s manual for more information.