
CALL US (416) 252-4868
How to use SyncToy on Windows 10 for file sync
2020-04-11
When you use a Windows computer, you usually might want to back up your important files to avoid losing data after sudden system failures. Is there any method to back up crucial data periodically and automatically?
SyncToy is a freeware syncing application from Microsoft, and it was a part of PowerToys series. It offers an easy-to-use graphical user interface for syncing files and folders between locations. Some of the typical uses include sharing files with other computers and creating backup copies of files & folders. Additionally, it is written using Microsoft’s .NET framework and uses Microsoft Sync Framework.
Synchronization is usually related to cloud storage services such as OneDrive or Dropbox, but you can also sync your files or folders locally, and today we’re going to show you how to download and install SyncToy on Windows 10.
In order to use this tool, users have to select a left folder that works as a source and a right folder that works as a destination. Great thing about this application is that you can choose any folder to be your destination or source folder. You’re not limited to your internal hard drive, therefore you can choose a folder on a portable hard drive, USB flash drive or even a network drive.
How can I install Microsoft SyncToy on Windows 10?
To install SyncToy on Windows 10, you need to do the following:
- Visit Microsoft Download Center.
- Click the Download button.

- Select the version you wish to download. If you use 32-bit version of Windows 10 select the x86 version, but if you use 64-bit Windows, be sure to select 64-bit version of SyncToy. Click the Next button to start the download.

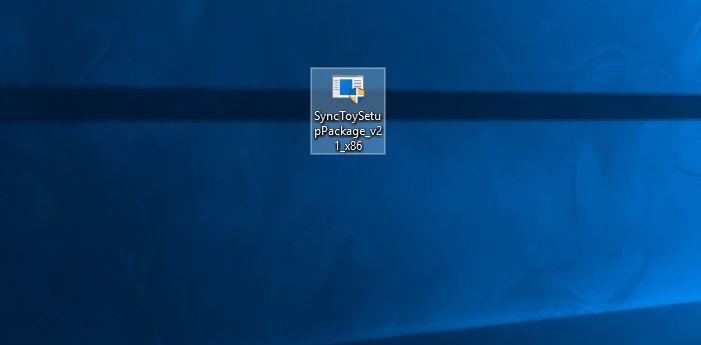
- Once the download is completed, locate the file you just downloaded and double click it to start the setup.
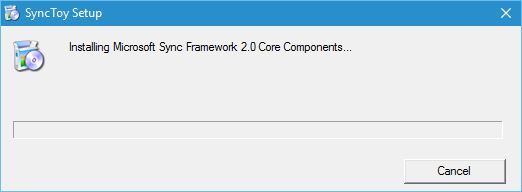
- First thing you’ll notice is the Microsoft Sync Framework 2.0 Core Components agreement. Read it, and click the Accept button.
Tip: Windows may inform you of the .NET Framework version 2.0.50727 that this setup requires. You need to download it and run the setup again. Just get this version from Microsoft website.
-
Wait until setup installs Microsoft Sync Components.
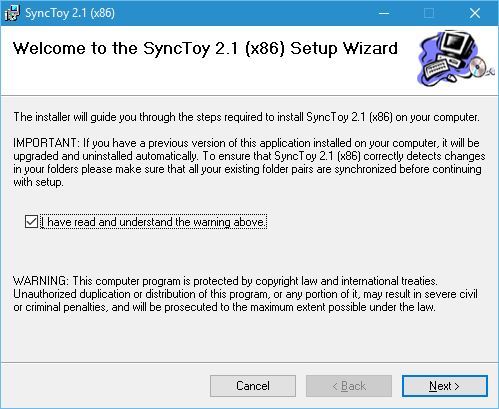
- Setup will now give you a warning message. Read it, check I have read and understand the warning above and click the Next button.
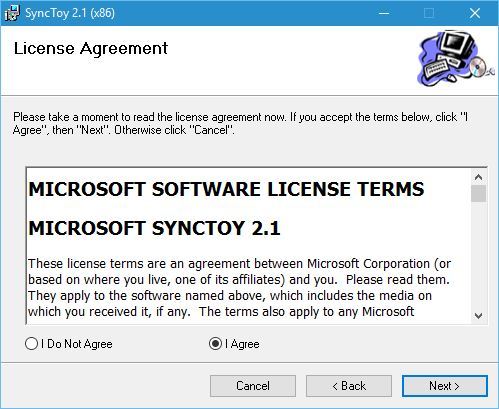
- Now you’ll see License agreement. Read it, select the I Agree option and click the Next button.
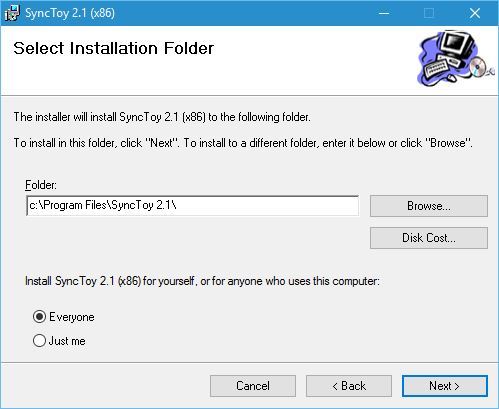
- Select the destination directory where you want to install SyncToy. If you want, you can install the application just for the current user or for all users on this computer. Once you’re done, click the Next button.
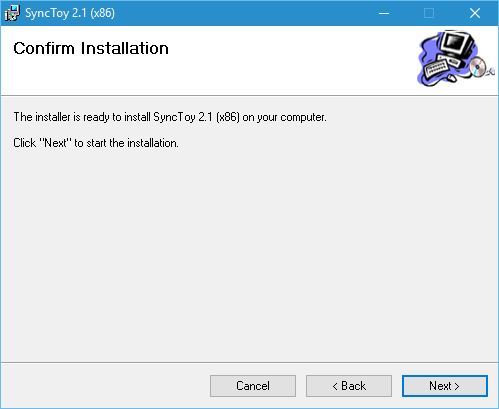
- Click Next button once again to start the installation process.
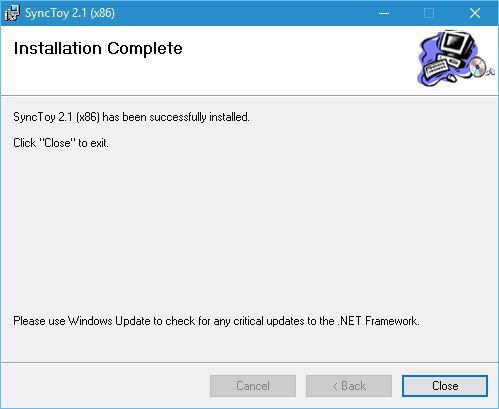
- Once the setup is completed click the Close button.
- After the SyncToy is installed, you can start it by double clicking the SyncToy 2.1 shortcut.


How to Use SyncToy on Windows 10 for File Sync?
To start synchronizing your files or folders with Microsoft SyncToy, you need to do the following steps:
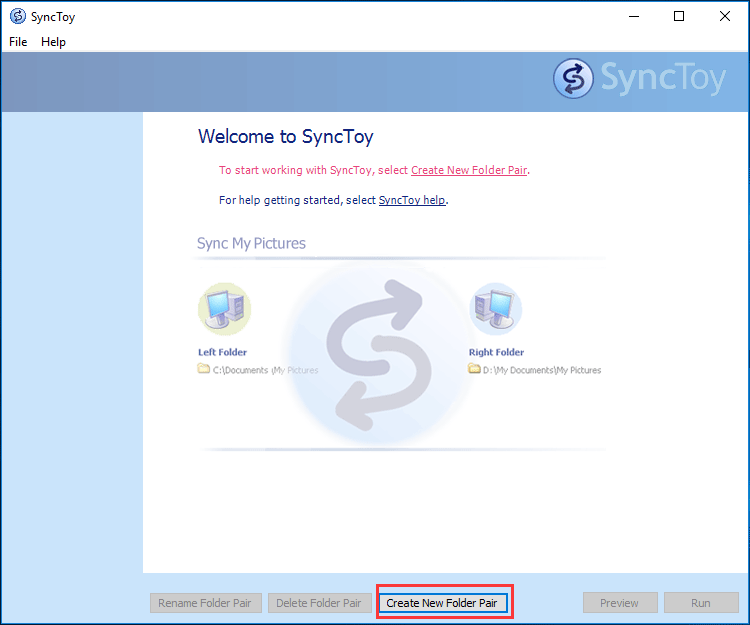
Step 1: Double-click SyncToy 2.1 on your Windows 10 PC to open it. Then, please click the Create New Folder Pair button to go on folder sync.
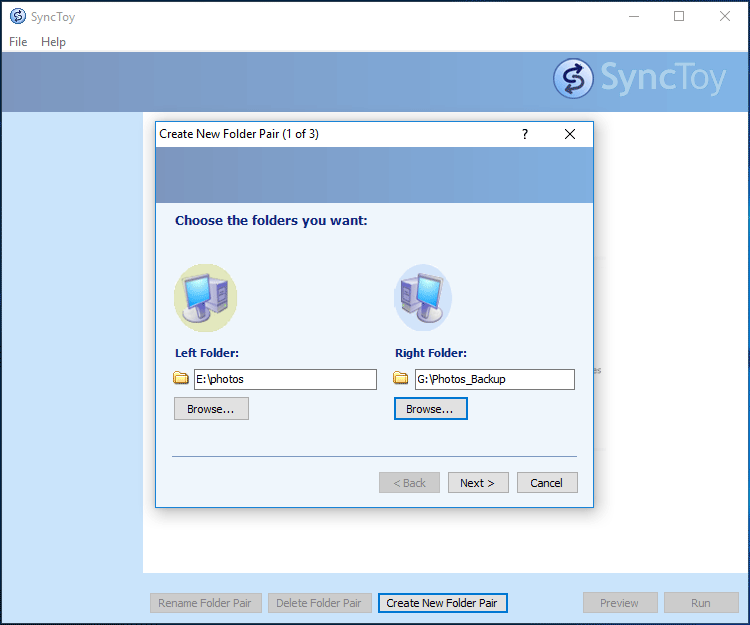
Step 2: In the pop-up window, click the Browse button to select Left Folder and Right Folder to continue. Then, click the Next button.
As for the former folder, it should be one on your computer that contains personal information like pictures, documents, videos, and more. As for the latter folder, it should be a folder on the external hard drive for each folder you want to synchronize from your computer.
Tip: Here, you can create a new folder on an external hard drive or USB flash drive. You can give the folder a name that allows you to recognize it as a backup folder, like Photos_Backup, as shown below.
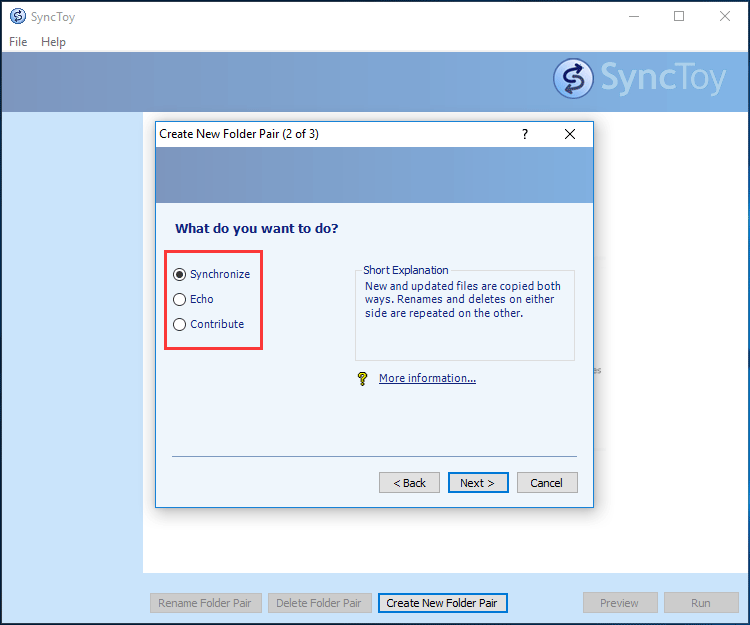
Step 3: SyncToy Windows 10 offers you three options to synchronize two folders and you need to choose one sync method that you want to use.
Synchronize: This option will synchronize any new, updated, renamed or deleted files. This means if you delete or rename any file on either side, the changes will be also performed to the second folder. In other words, both of these two folders have exactly the same files.
Echo: This option works similarly as the previous option but with one difference that is changes are only applied from the left folder to the right folder. That is to say, if you make any changes (file modifications, new files, rename, delete) to the right folder, there will not any changes in the left folder.
Contribute: This option is like the Echo option but it doesn’t allow deleting. In other words, if you delete any file in the left folder, that folder won’t be removed from the right folder.
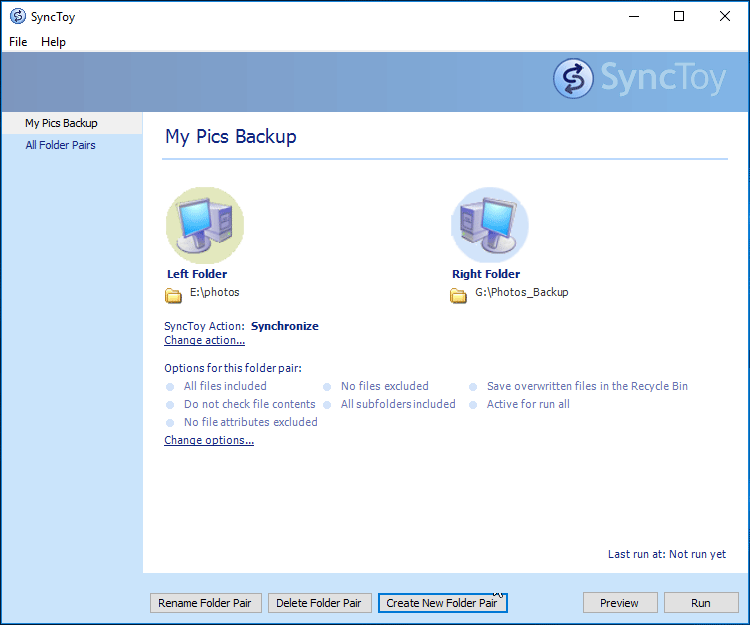
Step 4: Input the name of the folder pair (e.g. My Pics Backup) and click the Finish button.
Step 5: Then, you can see the SyncToy Acton and some details about the task. Here, you can change the action. The job has not been run yet. You can click the Preview button to see the files being synced. From there, you can exclude certain ones. If everything looks correct, just click the Run button.
Step 6: After successful folder sync is created by SyncToy Windows 10, you can see a detailed report.
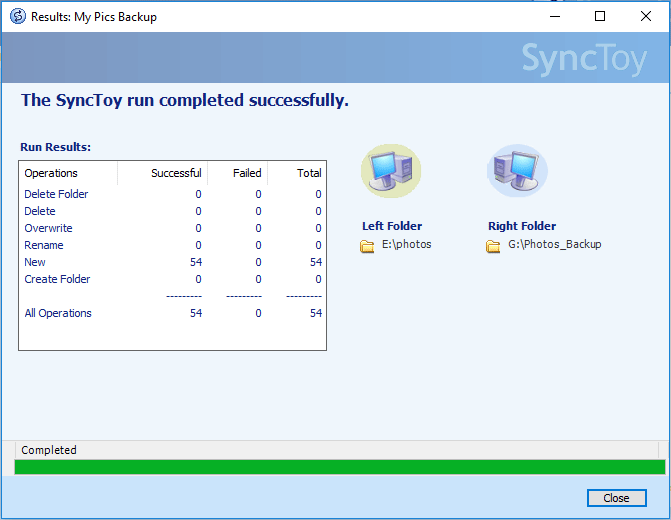
Tip: If the sync task is not successful, you are able to go to see what errors have occurred.
Now, all information about how to use SyncToy has been shown to you. To protect data well, you may choose to sync folders in Windows 10 once a week, every day, etc.
Then, some of you might want to know: how do I schedule SyncToy in Windows 10?
Bear in mind that you can have as many folder pairs as you like, and you can sync them all with just a single click, or you can sync them individually.
To make sure that you don’t accidentally delete your files, there’s a option to preview changes before you sync your files. In addition, you can turn on the option to move all deleted files to Recycle Bin in order to avoid deleting the files permanently by accident.
SyncToy is a great tool for backing up your files, and if you want you can even schedule a backup. To see how to schedule a backup in SyncToy we suggest that you check the help manual for detailed instructions.
If you used this application in previous versions of Windows, you’ll be happy to know that you can continue using it on Windows 10 as well.